
Free Fire Combat Tips: Master Every Gun Fight | FFGamingZone
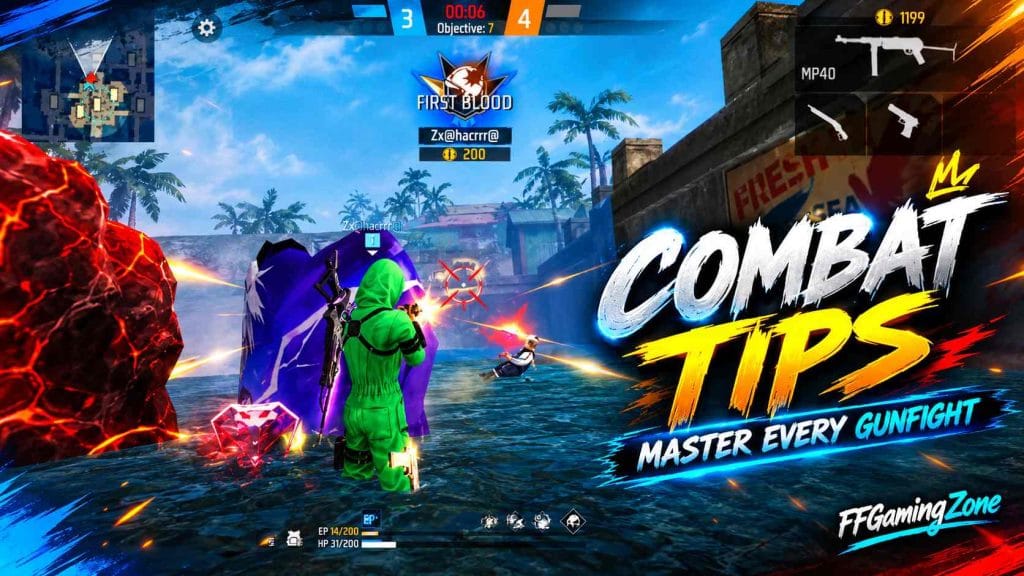
Winning gunfights isn’t just about aim. I’ve grinded this game long enough to see players with insane aim still lose fight after fight, and players with average aim who clutch match after match. The difference always comes down to decision making, positioning, and timing. This guide is everything that actually works for me in real matches, not some copy paste theory you’ll find on ten other blogs.
Introduction:Why Combat Tips Matter More Than Aim in Free Fire
Why Combat Tips Matter More Than Aim in Free Fire
Aim gets better with grinding. But if your decision making before the fight is bad, aim doesn’t save you. Pushing without cover, engaging without knowing enemy HP, these mistakes can’t be fixed with a better crosshair.
Why Most Players Lose Easy Gunfights
Most “easy” fights get lost because of rushing in blind. A player sees one enemy, assumes he’s solo, pushes, and gets third partied by his squad. Or a player with 30 HP still tries to trade damage instead of backing off. Same mistakes, over and over.
Common Combat Mistakes Beginners Make
New players usually mess up in three ways: wide peeking without checking the angle first, fighting without any cover nearby, and chasing a low HP enemy without checking if his squad is around. These three habits alone cause most beginner deaths.
What You'll Learn In This Guide
This guide breaks combat down by situation, cause, and fix. You’ll get 1v1 tips, multi enemy tips, close and mid and long range tactics, weapon specific data, and a full mistake to solution breakdown. Everything here is stuff you can apply in your next ranked match.
Combat Fundamentals: Master the Basics of Every Free Fire Combat
Build the Right Fighting Mindset
Before you take a fight, ask yourself if you can actually win it. Confidence based on info, not ego, is what separates good players from players who just spray and pray.
Understand Every Fight Before Shooting
Check distance, check enemy cover, check if he’s alone before you fire the first bullet. Random shooting without reading the situation is how you waste your whole mag for nothing.
Learn When to Fight and When to Back Off
Not every fight needs to be taken. If your HP is low or the enemy squad outnumbers you, backing off and repositioning is the smarter play, even if it feels less exciting.
Risk vs Reward Decision Making
Weigh what you gain against what you lose before pushing. Trading your whole match for one kill almost never makes sense, especially late game.
How to Win Different Combat Situations
1v1 Gunfight Strategy
Best Position Before Taking a Duel
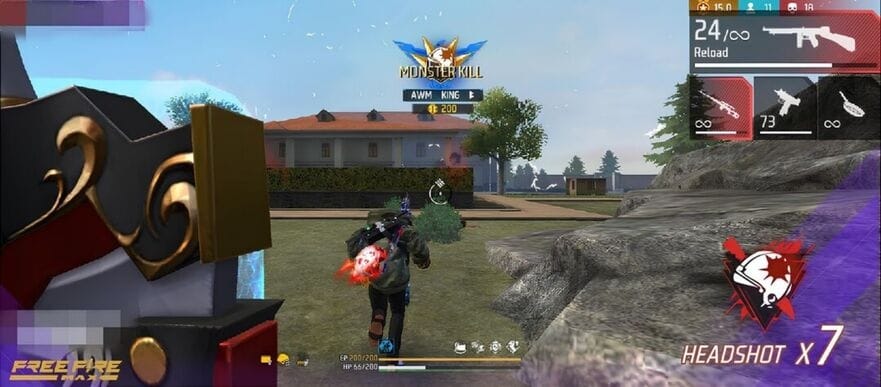
Always duel from cover, never from open ground. Even a small rock or wall gives you an edge the enemy doesn’t have.
How to Force Enemy Mistakes
Apply pressure with a push or a nade and the enemy panics. Panic makes players peek wrong or reload at the wr ong time, which is exactly your window.
Safe Peek Timing
The safest time to peek is right after you hear the enemy’s mag empty or during his reload sound. That half second gap is basically a free hit.
Example
I remember a duel near Bermuda’s Clock Tower where the enemy kept spraying non stop. The moment his gun clicked empty, I shoulder peeked and landed a headshot before he could even swap weapons. That’s the whole game right there, reading the reload window.
Fighting Multiple Enemies
Isolate One Enemy at a Time
When two or three enemies push together, focus one at a time. Trying to fight all of them at once is how you get wiped in under five seconds.
Never Peek Two Angles Together
Covering two directions at once means you’re exposed to both. Block one angle with a gloo wall and only then deal with the other.
Reset Before Re-engaging
After dropping one enemy, don’t immediately rush the second. Take one second to check HP, ammo, and cover before continuing.
Example
In a squad wipe situation at Purgatory, I killed the entry fragger first, then instead of pushing his teammate right away, I repositioned behind a rock, reloaded, and let him come to me. Won the fight clean instead of getting caught in the open.
Close Range Combat Tips
Shotgun Positioning
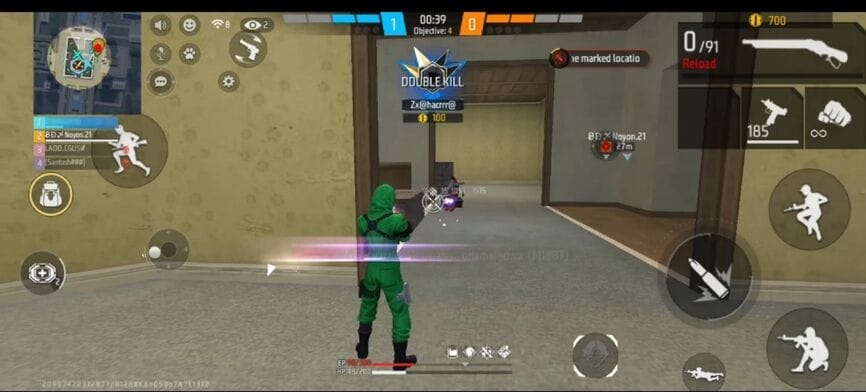
Shotguns like the M1887 and M1014 hit hardest inside 5 meters. Past that range, damage drops off fast, so don’t try shotgun fights at mid range distance.
SMG Rush Timing
SMGs like the MP40 or Vector need you close before you start spraying. Spraying an SMG from 15+ meters just wastes bullets, the spread is too wide out there.
Jump vs Slide Usage
Jumping messes with your own aim a bit but helps you dodge shots. Sliding keeps your aim more stable while still giving decent movement, so slide is usually the better pick in tight close range fights.
Wall Pressure
If an enemy is hiding behind a wall, drop a gloo wall to block one side of his cover. This forces him to peek only one direction, which you can predict and punish.
Mid Range Combat Tips
Burst Fire Control
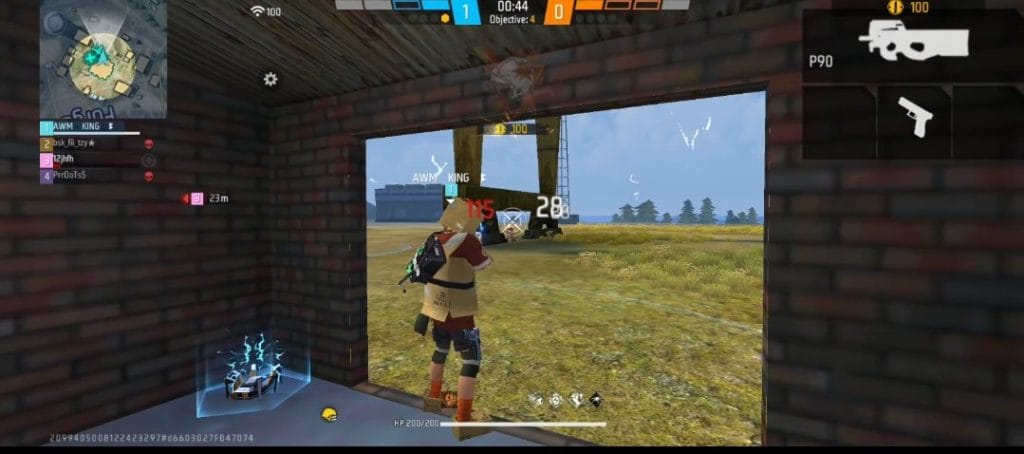
At mid range, full auto spray loses accuracy fast after the first 5-6 bullets due to recoil. Short 3-4 bullet bursts land way more hits than holding the trigger down.
Proper Strafing
Standing still at mid range is basically asking to get headshot. Small left-right strafing throws off enemy aim without hurting your own accuracy much.
Crosshair Placement
Keep your crosshair at head height at all times. This alone cuts your reaction time in half when an enemy peeks.
Safe Damage Trading
Only trade damage when your HP is clearly higher than what you’d lose. Trading at 40 HP against a full HP enemy is a losing bet most of the time.
Long Range Combat Tips
Tap Fire Accuracy
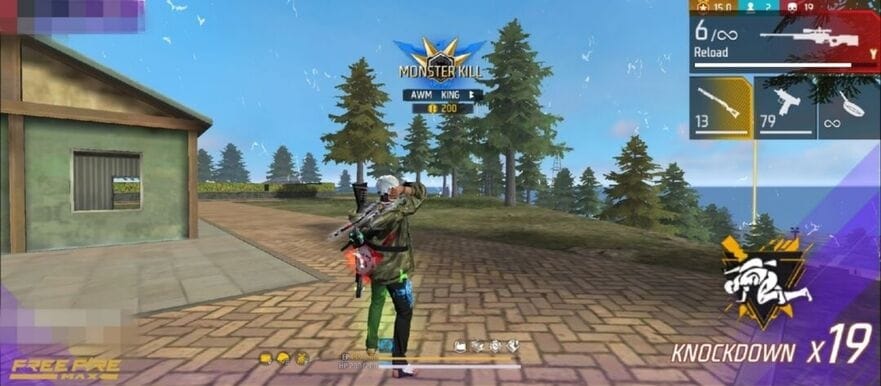
At long range, single tap or double tap always beats spray. Guns like the AWM or SVD are built for tap firing, not full auto.
Reposition After Every Shot
Firing repeatedly from the same spot at long range gets you tracked fast. Move slightly after every shot so the enemy can’t lock your position.
Avoid Predictable Peeking
Peeking the same angle over and over lets the enemy pre-aim your spot. Mix up your peek timing and location so nobody can predict your next move.
Weapon Comparison by Range
| Weapon Type | Example Guns | Best Range | Notes |
|---|---|---|---|
| Shotgun | M1887, M1014 | 0-5m | Massive close range damage, useless past mid range |
| SMG | MP40, Vector | 0-15m | High fire rate, weak damage drop-off past 15m |
| AR | Groza, AK, M4A1 | 10-40m | Best all-rounder, works close and mid |
| Sniper | AWM, SVD, Kar98 | 40m+ | One tap potential, bad in close range fights |
| Marksman | Mini14, SKS | 20-50m | Good middle ground between AR and sniper |
If you’re building a loadout, pairing one close range weapon (shotgun or SMG) with one AR or sniper covers almost every combat situation you’ll run into.
Best Combat Positioning Tips
High Ground Advantage
High ground gives you better vision on enemies below and easier shots. Just remember you’re also visible from far away up there, so don’t stand still.
Low Ground Problems
Getting caught on low ground against a high ground enemy is rough. If you’re stuck there, find the nearest cover fast instead of trying to trade shots uphill.
Right Hand Peek Advantage
Since the gun model sits on the right side of your screen in Free Fire, peeking right lets you see the enemy slightly before he sees you. Small detail, but it adds up over hundreds of fights.
Natural Cover Usage
Rocks, trees, and terrain don’t break like gloo walls do. Always prioritize natural cover as your first option before relying on gloo walls.
Open Field Combat Tips
Caught in the open, don’t run straight. Zig-zag toward the nearest cover, straight line movement is a free target for anyone watching.
Building Fight Positioning
Fighting inside a building, position yourself to watch both the door and window if possible. Watching only one entry point is how enemies flank you from the other side.
Rooftop Combat
On rooftops, avoid standing right at the edge since fire can come from the floor below. Staying more central keeps you safer from multiple angles.
Why You Lose Gunfights (Cause & Solution)
Cause: Standing Still
Standing in one spot during a fight makes you an easy target for enemy aim.
Resolution: Keep Constant Movement
Keep small movements going throughout the fight. Even slight strafing throws off enemy tracking.
Cause: Wide Peeking
Showing your full body while peeking exposes way more of you than needed.
Resolution: Shoulder Peek First
Peek with just your shoulder first to gather info, then commit to a full peek only if it’s safe.
Cause: Fighting Without Cover
Standing in open ground during a fight means one clean shot can down you instantly.
Resolution: Always Fight Near Cover
Stay close to cover at all times, whether natural terrain or a gloo wall you placed yourself.
Cause: Chasing Low HP Enemy
Rushing a low HP enemy without checking surroundings often gets you ambushed by his teammates.
Resolution: Secure Position Before Push
Confirm no other enemy is nearby before pushing, even if the kill looks easy.
Cause: Reloading At Wrong Time
Reloading in the open or mid fight gives the enemy a free window to punish you.
Resolution: Learn Reload Discipline
Reload behind cover right after a fight ends, never in the open during an active engagement.
Completion Strategy
Finish Knocked Enemies Safely
Don’t walk up to a knocked enemy carelessly, his teammate might still be watching. Finish from cover whenever you can.
Reload Before Next Fight
Top off your mag as soon as one fight ends, before the next one starts. This tiny habit saves a lot of deaths.
Heal Before Looting
Don’t rush to loot right after a fight. Heal up first, then check your surroundings.
Check Third Party Threat
Check the mini map immediately after every fight. Gunshots attract other squads fast, so know if someone’s already rotating your way.
Rotate Immediately After Combat
Don’t camp the same spot too long after a fight. Sound travels, and staying put is basically an invite for a third party push.
Combat Psychology: Think Like a Professional Fighter
Read Enemy Confidence
Watch how the enemy moves. Aggressive push usually means full HP, cautious slow movement usually means he’s low.
Predict Enemy Movement
Track his last known position and cover pattern to guess where he’ll go next. This comes with reps, but it’s learnable.
Force Enemy Panic
Sudden pressure or an unexpected angle makes enemies panic, and panicked players make mistakes.
Control Fight Tempo
Decide the pace of the fight yourself, whether slow and patient or fast and aggressive. Don’t let the enemy dictate how the fight goes.
Create Pressure
Small constant pushes or grenades keep the enemy uncomfortable, which forces bad decisions from their side.
Advanced Combat Tips Used by Professional Players
Shoulder Peek Technique
Expose only a small part of your body to gather info while minimizing your own exposure.
Jiggle Peek
Quick in and out peeking that makes it hard for the enemy to land a clean shot on you.
Bait and Punish
Make yourself look vulnerable to bait a push, then punish the enemy once he commits.
Damage Trade
Only trade damage when the math favors you, meaning your HP advantage outweighs the risk.
Fake Rotation
Move like you’re rotating one direction to mislead the enemy, then actually push from a different angle.
Sound Bait
Make deliberate noise, like placing a gloo wall, to pull enemy attention one way while you move from another.
Silent Position Change
Use crouch walking to reposition without giving away your new location through sound.
Crossfire Awareness
Coordinate with your teammate to hit the same enemy from two different angles at once, this is a core squad combat skill.
Advanced Peek and Movement Comparison
| Technique | Best Use Case | Risk Level |
|---|---|---|
| Shoulder Peek | Gathering info before committing | Low |
| Jiggle Peek | Baiting shots without full exposure | Low-Medium |
| Wide Peek | Confirmed kill opportunity only | High |
| Silent Crouch Move | Repositioning during a stalemate | Low |
| Slide Peek | Close range aggressive fights | Medium |
Biggest Combat Mistakes You Should Stop Immediately
Over Aggression
Always pushing without checking the situation works sometimes but backfires more often than not.
Panic Spraying
Firing blindly without a confirmed target just burns your ammo for nothing.
Tunnel Vision
Focusing only on one enemy while ignoring other directions is how third parties get free kills.
Ignoring Reload Timing
Reloading at the wrong moment hands the enemy a free opening.
Ignoring Cover
Not using available cover is one of the most basic and most costly mistakes out there.
Fighting Without Information
Engaging without knowing enemy count, HP, or position is a gamble you’ll lose more than you win.
Predictable Movement
Repeating the same movement pattern makes you easy to read and easy to hit.
Bad Peek Timing
Peeking at the wrong moment means catching the enemy fully ready, which flips the advantage against you.
Combat Improvement Plan: Daily Practice Routine to Improve Combat Skills
Aim Training
Spend at least 10-15 minutes daily in training ground, focusing specifically on headshot placement.
Movement Training
Practice combining strafe, slide, and jump until movement feels natural instead of forced.
Positioning Training
In casual matches, deliberately fight from different positions like high ground, buildings, and open field to build real experience.
Decision Making Practice
After every fight, ask yourself if your push or hold decision was correct. This sharpens game sense over time.
Custom Rooms Drills
Run 1v1 and 1v2 drills with friends in custom rooms. Lower pressure environment, faster skill building.
Solo Challenge Practice
Put yourself in tough solo rank situations on purpose, like fighting multiple enemies with limited resources, to build clutch instincts.
Pro Player Combat Habits
Fight Only With Advantage
Pro players rarely take a fight without confirming they have the edge first, even against a weaker looking enemy.
Never Waste Utilities
Grenades and gloo walls get saved for real threats instead of getting burned in every small skirmish.
Maintain Crosshair Height
Keeping crosshair at head level at all times is probably the single most common habit among skilled players.
Always Expect Third Party
Every fight is treated like a third party is coming, which is why pros end fights fast instead of dragging them out.
Keep Calm Under Pressure
Staying level headed under pressure is the real gap between an average player and a pro.
Combat Checklist
Do I Have a Cover ?
Know your exit path in case the fight goes wrong before you commit.
Is Reload Complete ?
Make sure your mag is full before pushing.
Is HP Enough ?
Check if your HP can actually handle the fight, heal first if it can’t.
Can Enemy Be Flanked?
Look for a flank option instead of always going straight in.
Should I Push or Hold ?
The final question before any move, get this answer clear before you act.
Final Thoughts
Master Combat First, Then Everything Else Becomes Easier
Loot, rotation, and zone strategy only matter if you can actually win the fight when it happens. Once combat fundamentals through advanced mechanics click for you, everything else in the game gets noticeably easier. Take this guide one section at a time into your matches and the improvement shows up fast.
Frequently Asked Questions (FAQ)
What are the best Free Fire combat tips for beginners ?
Use cover, don't fight without info, and keep your crosshair at head height. These three basics matter more than anything else early on.
What is the biggest combat mistake in Free Fire ?
Pushing without information is the most common and most costly mistake players make.
How do pro players win difficult fights ?
They combine pressure, timing, and calm decision making instead of panicking under fire.
How can I improve my close range fighting ?
Learn shotgun and SMG effective ranges, use slide movement, and always fight near cover.
How do I survive against multiple enemies ?
Isolate one enemy at a time and never try to cover two angles at once.
How can I stop losing easy gunfights ?
Stop rushing blind, confirm info before pushing, and avoid aggressive plays at low HP.
Why do I lose fights despite having good aim ?
It's usually weak positioning or bad decision making, aim alone doesn't win fights.
How do I improve combat decision making ?
Review your decisions after every fight, this builds game sense faster than anything else.
Is cover more important than aim in Free Fire ?
In most situations yes, cover decides whether you even get a fair chance to use your aim.