
Free Fire Zone Tips: Survive the Safe Zone and Push Rank
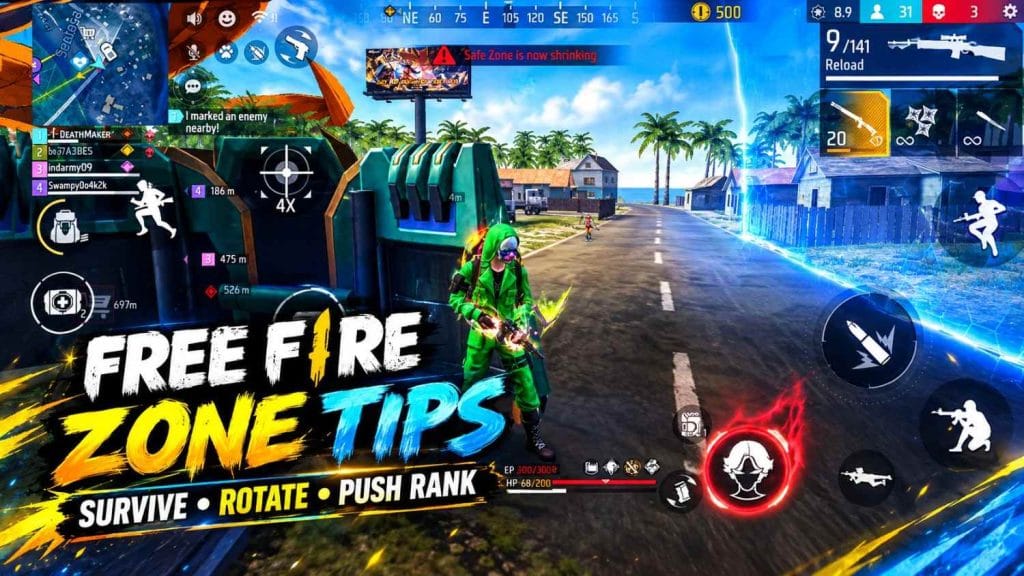
How Do You Survive the Safe Zone in Free Fire?
Three things keep you alive late: rotate early, hold good cover, and skip fights that give you nothing.
Rotate before the zone forces you
If you move when the blue zone is already on your neck, you are running in the open with no plan.
Position beats loot
A mid-tier gun on high cover wins more than a perfect loadout in the open.
Always keep an exit
Know where you will go if the fight goes bad. Keep healing and Gloo Walls ready for that moment.
I have lost more Heroic games to bad rotations than to bad aim. Most squads die because of where they stand, not what they hold. The rest of this guide shows how to fix that, step by step.
How to Read the Zone and Plan Your Next Rotation
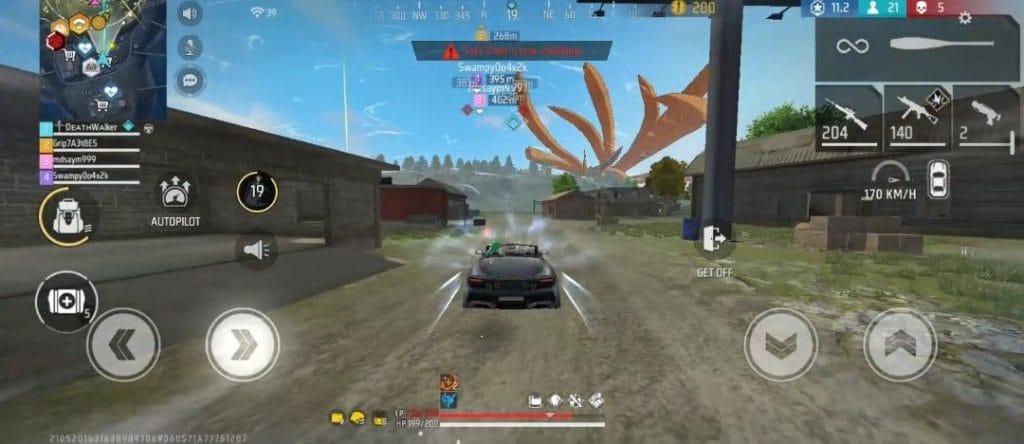
Look at the map before you loot the next building. The moment a new safe zone shows, check where the white circle is and where you are in relation to it.
Pick Your Next Position First
Do not just run toward the circle’s center. Pick a real spot: a compound, a hill, a cluster of rocks. Ask yourself, “Can I hold this place for the next circle?” If you can’t answer, pick another.
Take Cover-Rich Routes
The shortest path is often an open field. That is how you get sniped. Take the route with walls, trees, ditches and buildings, even if it adds ten seconds. Those ten seconds cost less than a knock.
Move Early When the Zone Is Far
If the next circle is far from you, go now. Early movement means you take the best buildings before other squads do. Also, the zone damage is low early, so mistakes are cheaper.
Break Sightlines
Use buildings and terrain as shields. Move from cover to cover, and never run along a ridge. If you can see a hill top, enemies on it can see you.
How to Rotate Safely Without Getting Caught in the Open
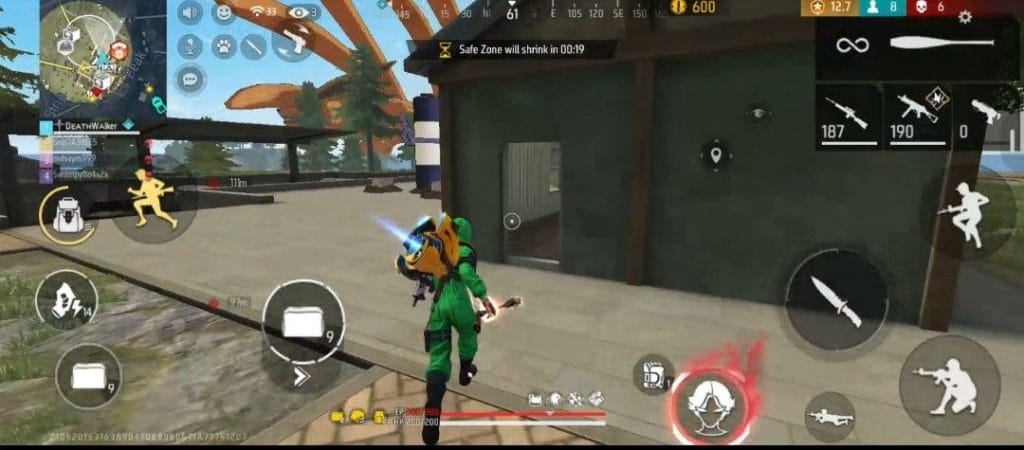
When to Rotate Early
Rotate early when:
- The next circle pulls you across a large open area
- You are on the edge of the map, far from the next center
- Your squad already has what it needs (armor, a weapon, a few heals)
When Late Rotation Is Safer
Sometimes sitting still is smarter. If you are already inside a strong building near the next circle, let others move. Squads who rotate early often crash into each other on the road. You get free third-party chances if you wait.
Crossing Open Areas
If you have to cross open ground:
- Use a vehicle if the area is long, but expect sound to draw attention.
- Zig-zag on foot. Don't run straight.
- Throw a Gloo Wall mid-run if someone starts shooting. Do not stand behind it for long.
- Move one by one if the squad is wide open, so others can cover.
When Another Squad Controls Your Route
Do not walk into their scope. Either go around, use smoke cover, or wait for them to get pushed by the zone. If you have no choice, send one player to bait while the others flank. It works more than you would think.
When Should You Fight, Avoid or Reposition?
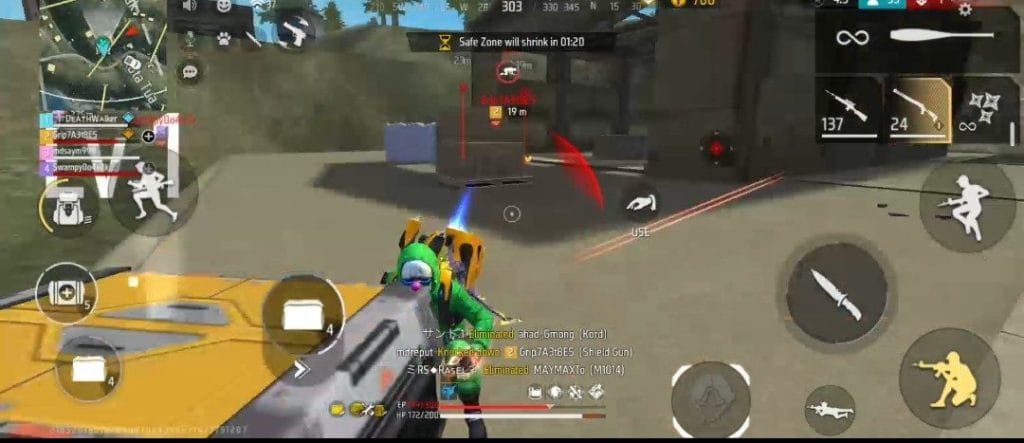
Before any fight, I run a quick check in my head. I call it Position, Information, Resources, Exit.
- Position: Are we on high or safe ground?
- Information: Do we know how many enemies and where?
- Resources: Do we have enough healing, Gloo Walls and ammo?
- Exit: Where do we run if it turns bad?
If two or more answers are “no”, skip the fight.
When to Avoid an Enemy Squad
Skip the fight when:
- You are in the open and they are not
- Your squad is low on heals
- Another squad is close and will third-party you
- You are inside the zone and they are outside (the zone will do the work for you)
When Third-Party Pressure Is Worth It
If two squads are fighting, the winner is usually low on health and ammo. That is your moment. Wait for the shooting to slow down, then push with a grenade first. But check your own back before you go.
How to Disengage
If a fight turns bad, do not try to save it with ego. Throw a Gloo Wall, pop smoke if you have it, heal behind cover, and move to the exit you planned earlier. Better to lose ten seconds than the whole squad.
Best Character and Pet Combos for Zone Survival
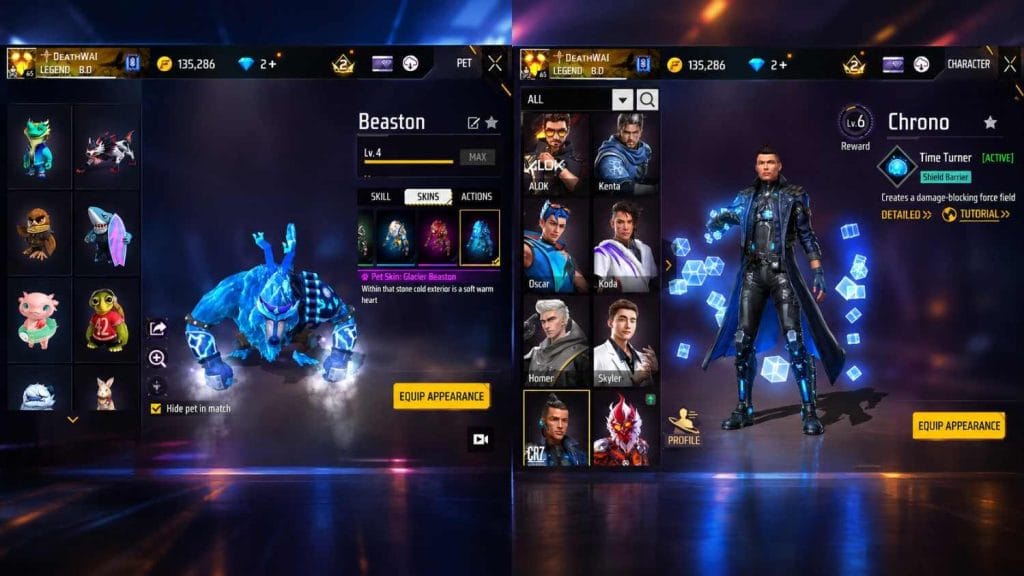
A quick note: Garena changes character and pet stats in updates, so always check the in-game info before you lock your build. The ideas below stay true even when numbers change.
Characters That Help With Rotation and Survival
Alok:
His Drop the Beat ability gives a small speed boost and healing to nearby players. Good for squads that rotate together and need to recover on the move.
Chrono:
His Time Turner creates a force field that blocks incoming damage for a short time. Great for pushing through a hot spot or reviving someone.
Wukong:
He can turn into a bush for a short time. Perfect for creeping across open ground and avoiding eyes.
Skyler:
His Riptide Rhythm creates sonic waves that destroy Gloo Walls, which is useful to break enemy cover in tight endgames.
Jota:
His Sustained Raids restores HP after a knock with some weapon types. Good for players who fight a lot.
Pick for Mobility or Defense
If your zones are usually long and open, pick mobility. If you tend to end up in tight, crowded final circles, pick a defensive or utility character.
Pets
Pets give small buffs, such as cooldown reduction on Gloo Walls or small EP regain after a knock. Rockie and Detective Panda are common picks for zone play because they help with utility and sustain. They are not magic, but small edges add up in long matches.
Aggressive vs Defensive Combos
Aggressive:
A character that heals or shields on fights, plus a pet that gives quick recovery.
Defensive:
A character that blocks damage or hides you, plus a pet that improves Gloo Wall flow.
Pick one style per squad and stay consistent. Mixed squads often play two different games.
How to Manage Utility for Better Zone Survival
Utility is what separates a rank pusher from someone who just hopes. Here is how I handle it.
Gloo Walls:
Do not burn them in the first fight. Keep at least two or three for the final circles. Use them for rotation cover and quick emergency walls, not for random peeks.
Healing:
Carry enough medkits and heals for a long run. If your zone trip is long, you will take chip damage. Heal behind cover, not in the open.
Final zones:
Save grenades, smoke and your best utility for the end. That is when it matters most.
Throwables:
Use grenades to clear a building or force players out of a strong spot. A single frag can save a whole push.
Do not waste utility on weak fights:
If you spend three walls on a low-value kill, you will have nothing when real trouble shows up.
How to Win More Fights in the Final Safe Zone
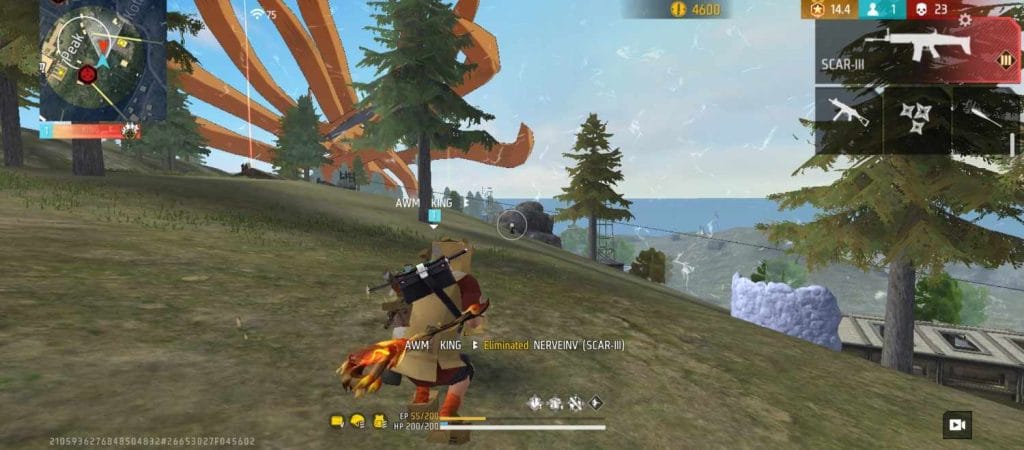
Reach Your Spot Before the Zone Closes
By the last two circles, you should already be in position. If you are still running when the zone closes, you are too late.
Hold Cover
Do not chase every enemy. A player chasing kills in the final circle usually walks into three guns. Stay behind your wall and make them come to you.
Control the Next Path
Look at where the next circle will likely shrink. Put one teammate on the exit path so you are not trapped. That tiny step wins matches.
Force the Move
If you have cover and others do not, let the zone push them. Throw a grenade near their position to speed it up.
Push or Hold?
Push when the enemy is low, reloading or cornered. Hold when you are ahead on position and they have to cross open space.
What to Do When You Are Outside the Safe Zone
First, stop looting. Every second spent on a backpack costs health.
Pick the safest route, not the shortest
Short routes through open ground are death traps.
Heal on the move
With a clear plan, and use a Gloo Wall if someone starts shooting.
Fight only if it opens your path
If someone blocks the road and you cannot avoid them, take the fight with a grenade first.
Use a vehicle
If the zone gap is large. You will take some sound risk, but you save health.
Remember that blue zone damage grows in later phases, so a long run late is much more costly than early.
How to Survive Endgame When Many Squads Are Still Alive
This is where most rank games are won or lost.
Track positions before you shoot
One careless shot reveals you to everyone.
Let others fight first
The squad that starts shooting usually gets third-partied. Be the third party.
Save resources
Keep heals, walls and grenades for the final engagement.
Take the last fight from your best position
If you must push, do it with a team and a plan, not a lone sprint.
Common Zone Mistakes That Waste Rank Points
Rotating only when the zone is closing
You become an easy target on the road.
Fighting without an exit
One bad peek and the whole squad is stuck.
Leaving strong cover for a kill
One kill rarely beats ten ranks of survival points.
Burning all Gloo Walls early
You will have none left when it counts.
Chasing low-value players
A knocked enemy in the open is often bait.
Ignoring the next zone while looting
Check the map after every pickup.
Safe Rotation vs Aggressive Rotation: Which Fits Your Match?
| Situation | Safe Rotation | Aggressive Rotation |
|---|---|---|
| Low on heals | Better | Risky |
| Zone is far | Go early and safe | Only if you have a vehicle |
| Enemy squad nearby | Avoid or go around | Push if they are weak |
| Strong cover on route | Safe works | Aggressive works too |
| Final 3 circles | Safe, hold position | Only with clear advantage |
Resources change the decision
Full healing and walls? You can be bolder. Low on everything? Be careful.
Enemy info changes your route
If you hear shots on your path, switch routes. If a squad is stuck outside the zone, let it do the work.
Advanced Zone Tactics for Rank Push
Predict rotations
Many squads follow roads and obvious paths. Think where they will go and set up there.
Take high-value spots early
Rooftops, hills and strong buildings are gold. Get them before others do.
Use zone pressure
Position yourself so enemies have to cross open ground to reach safety.
Turn small resources into position
One grenade and two Gloo Walls can clear a spot and hold it.
Rotate with an endgame plan
Every move should answer: "Where will I be in the last circle?"
A Simple Zone Decision Rule You Can Use Every Match
Before any move or fight, ask:
- Position: Where is the safest place for me?
- Information: What do I know about nearby enemies?
- Resources: Can I afford this?
- Exit: If this fails, where do I go?
If you can answer all four, go. If you cannot, wait or move differently.
Zone Survival Checklist Before Every Rotation
- Checked the next zone on the map
- Picked cover and route
- Checked enemy sounds and info
- Healing and Gloo Walls are enough
- Decided the destination before moving
Frequently Asked Questions (FAQ)
How can I survive longer in Free Fire?
Move early, hold cover, and avoid low-value fights. Survival comes from decisions, not only aim.
When should I rotate into the safe zone?
As soon as the next circle shows, if the route is long or open. Waiting is fine only when you already sit in a strong spot near the next center.
Should I fight or avoid enemies during rotation?
Avoid if the fight does not help your path. Fight only if you have position, info and resources.
Which character and pet help most with zone survival?
Characters with healing, shielding or movement help most, like Alok, Chrono or Wukong. Pair them with a pet that supports utility. Check current stats in game since updates change them.
How do I survive the final safe zone?
Reach your spot early, hold cover, save utility, and let other squads fight first.
What should I do when trapped outside the zone?
Stop looting, pick a safe route, heal with a plan, and fight only if it clears your path.
How can I push rank without unnecessary fights?
Rank points come from placement and kills together. Survive deep first, then take fights that help your position.
Final Takeaway
Next match, do one thing: check the zone right after every fight and pick your next spot before you loot. That single habit fixed most of my rank problems. Try it for five games, and you will feel the difference.